Understanding the Roof Insurance Claim Process: A Homeowner’s Guide
Navigate Roof Insurance Claims with Confidence
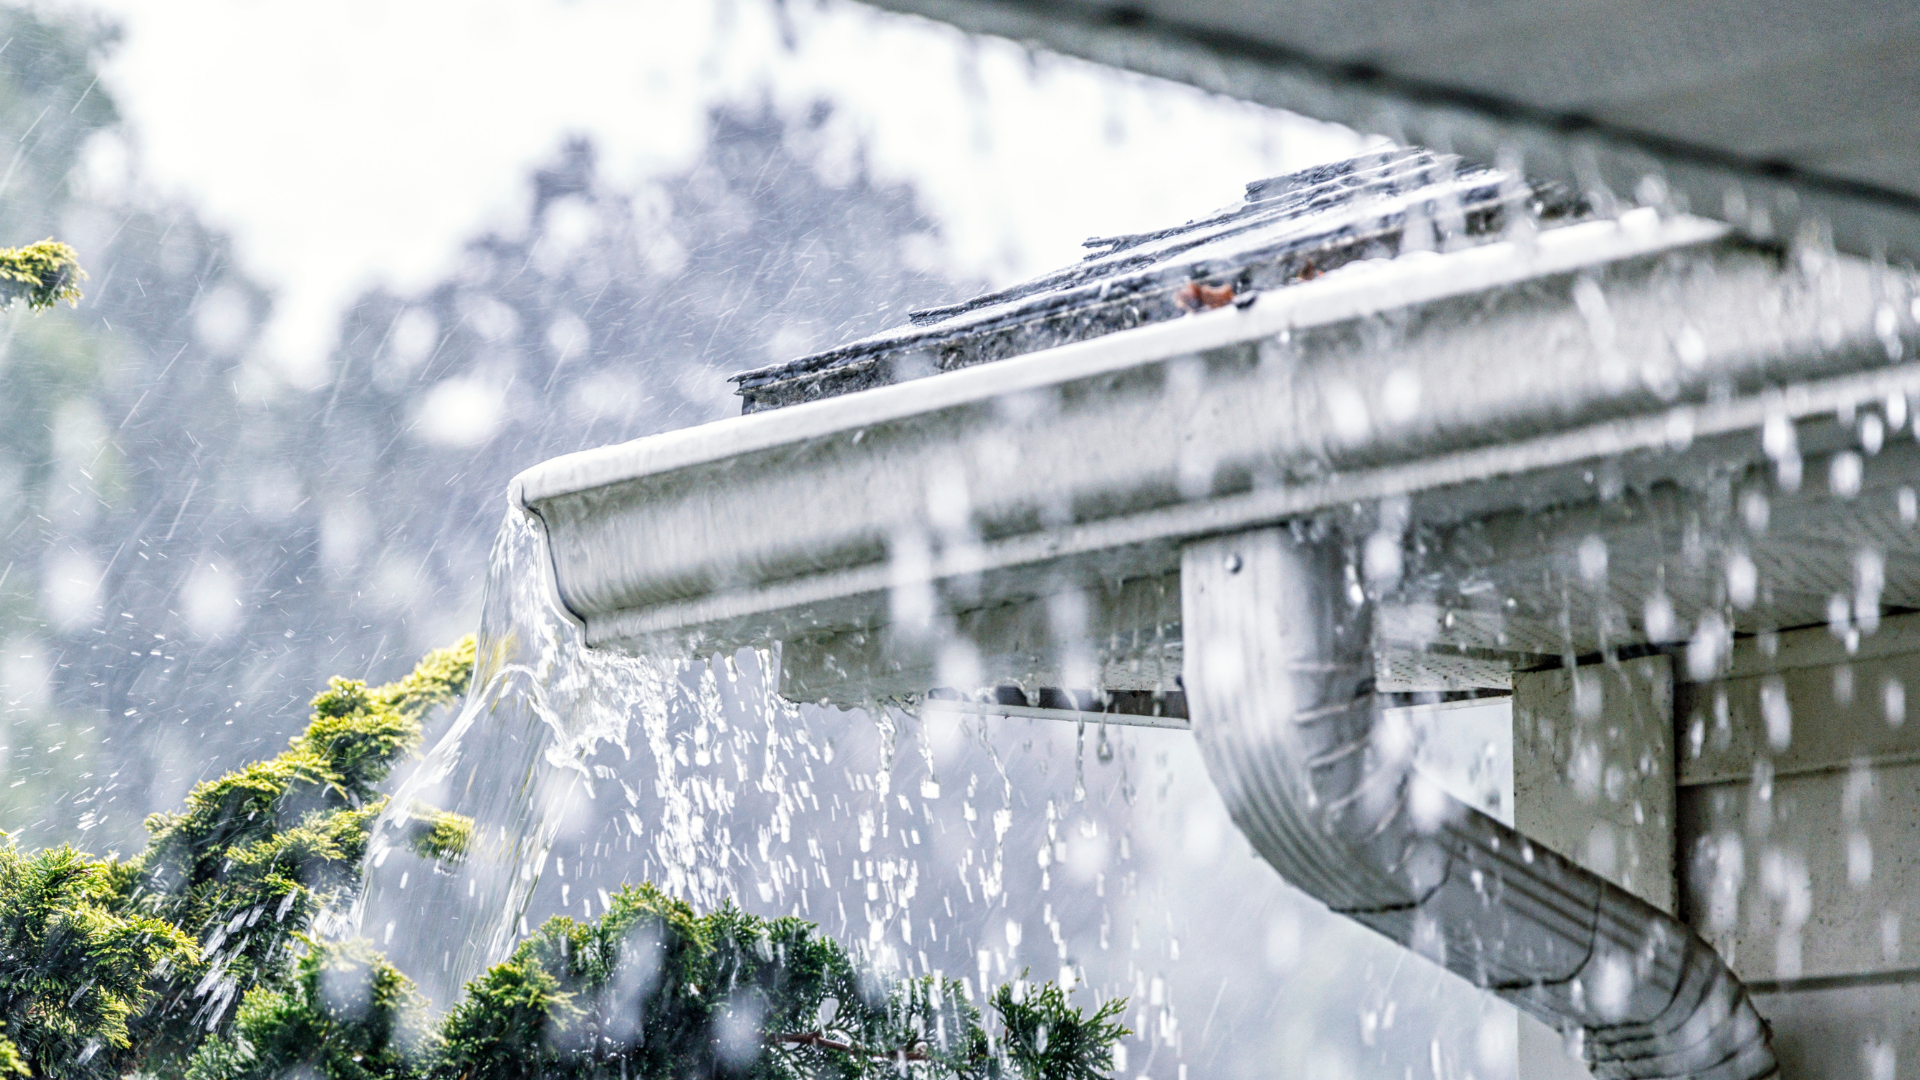
When severe weather strikes, your roof often bears the brunt of the damage. Navigating the insurance claim process can be daunting, but with the right knowledge and preparation, you can ensure a smoother experience. At Advocate Contracting, we’re committed to helping homeowners understand and effectively manage roof insurance claims.
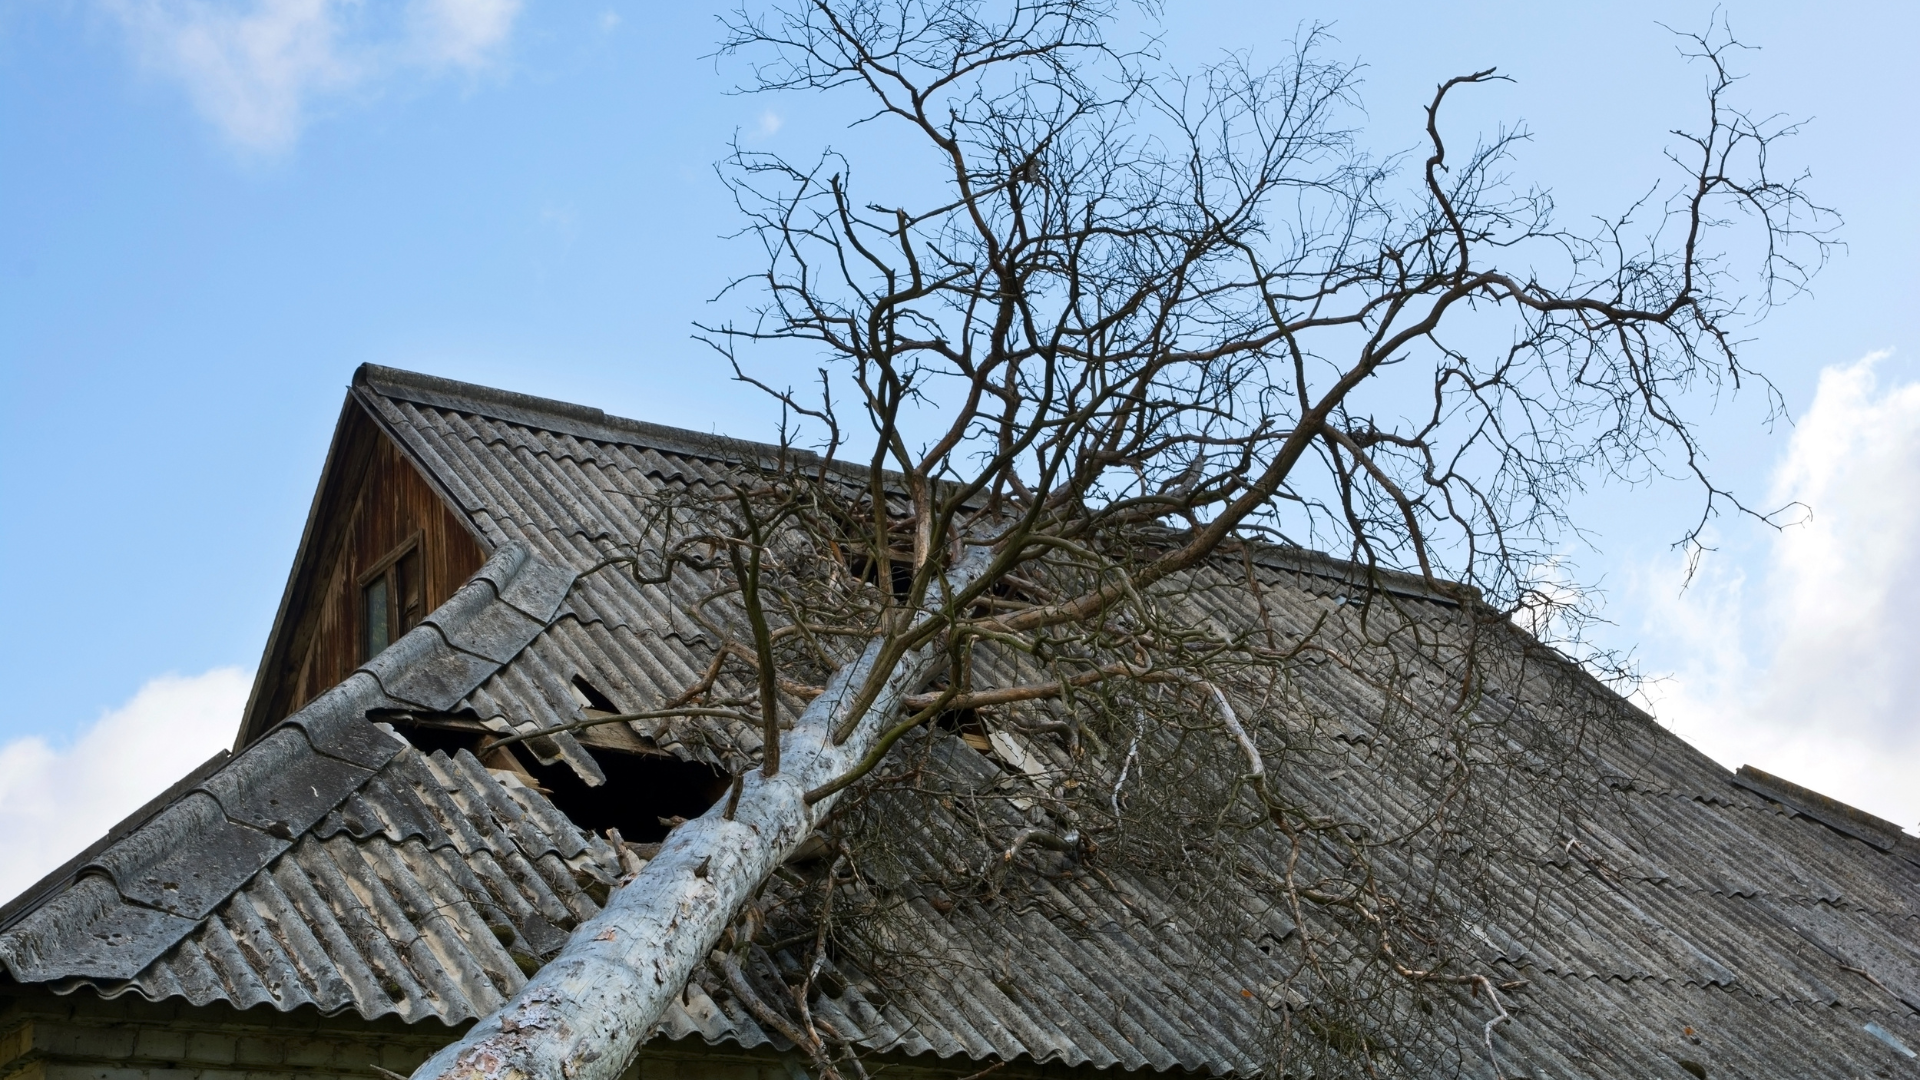
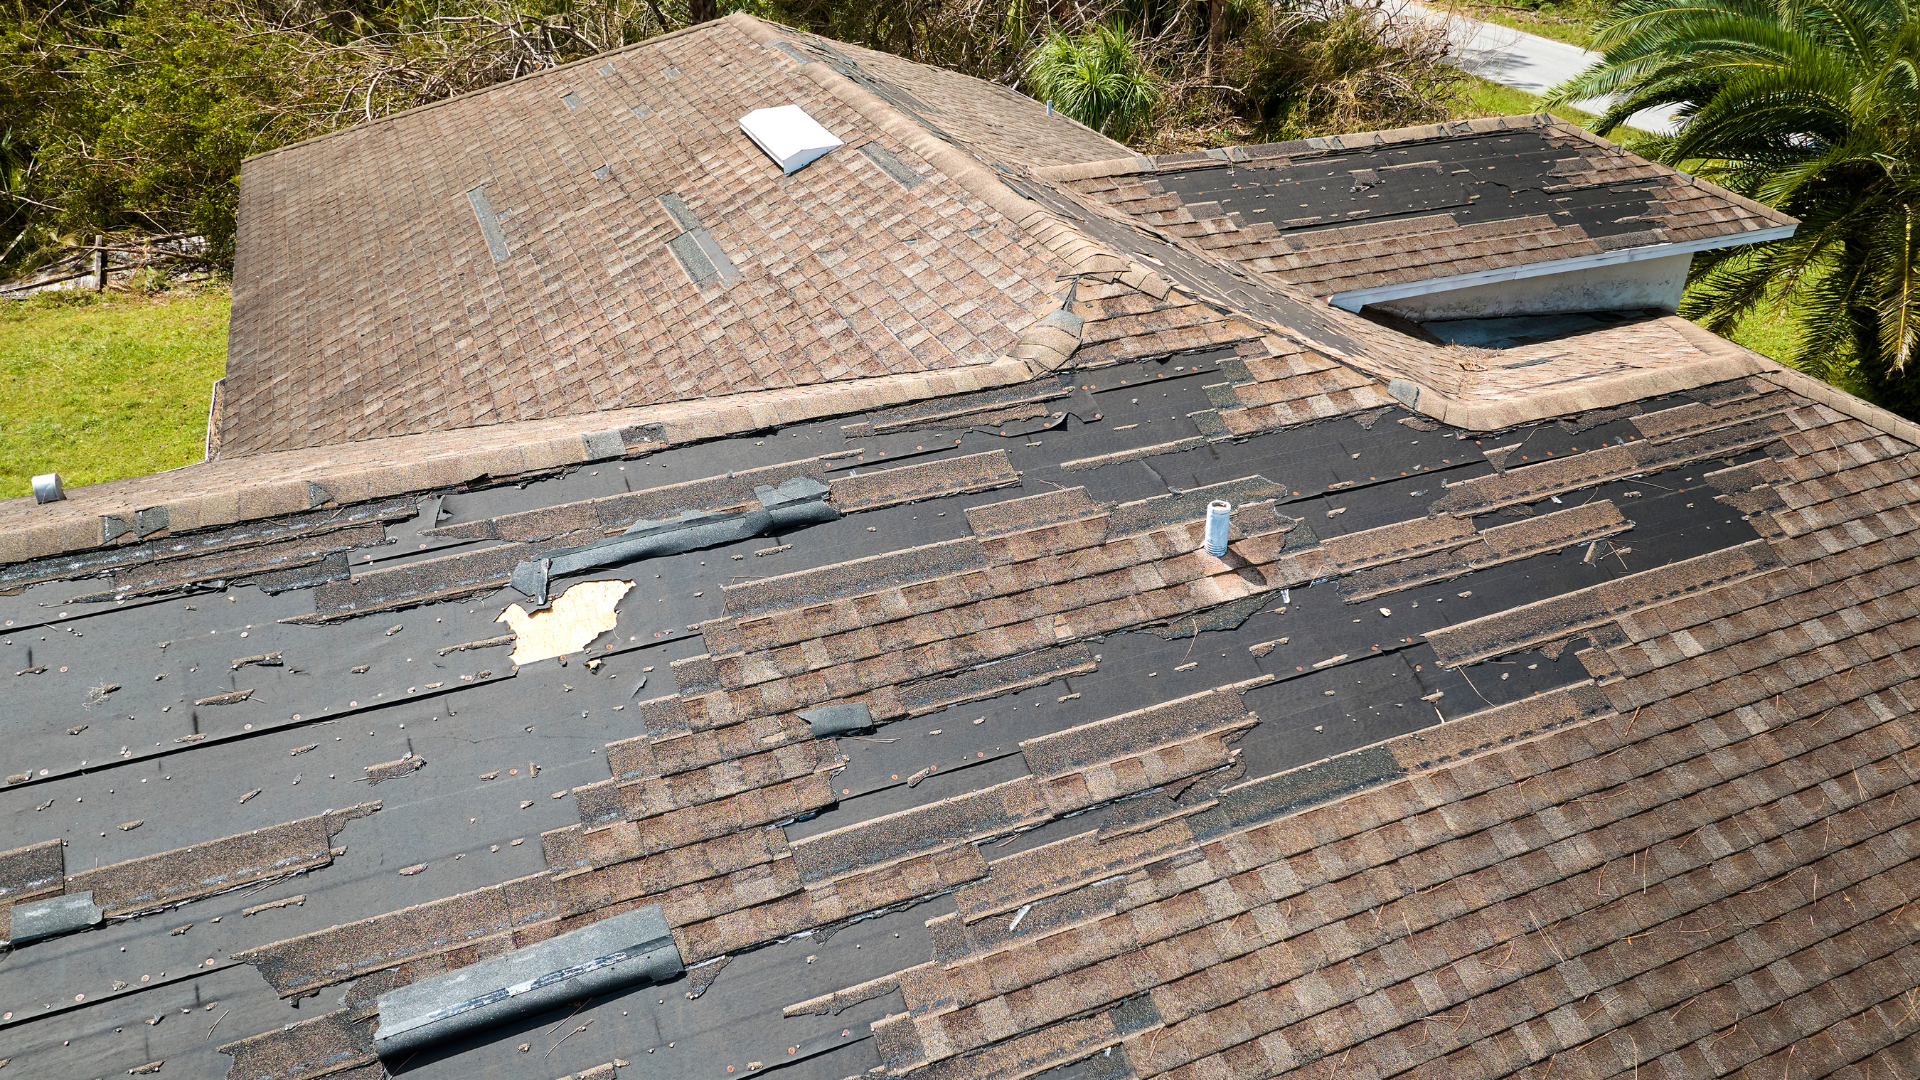
Step 1: Assess and Document the Damage
After a storm, it’s crucial to inspect your roof for visible signs of damage, such as missing shingles, dents, or leaks. Documenting this damage promptly with clear, timestamped photos and videos is essential. This visual evidence supports your claim and provides a baseline for repairs. According toFEMA, thorough documentation is a key component in the claims process.
Step 2: Review Your Insurance Policy
Understanding your homeowner’s insurance policy is vital. Policies vary, and knowing what is covered, your deductible, and any exclusions can prevent surprises. For instance, some policies may not cover damage due to wear and tear.Investopedia provides insights into what typical homeowners insurance policies cover regarding roof damage.
Step 3: Contact Your Insurance Company
Once you’ve assessed the damage and reviewed your policy, contact your insurance provider to initiate the claim. Provide them with the documentation you’ve gathered and be prepared to answer questions about the extent of the damage. Prompt communication can expedite the claims process.
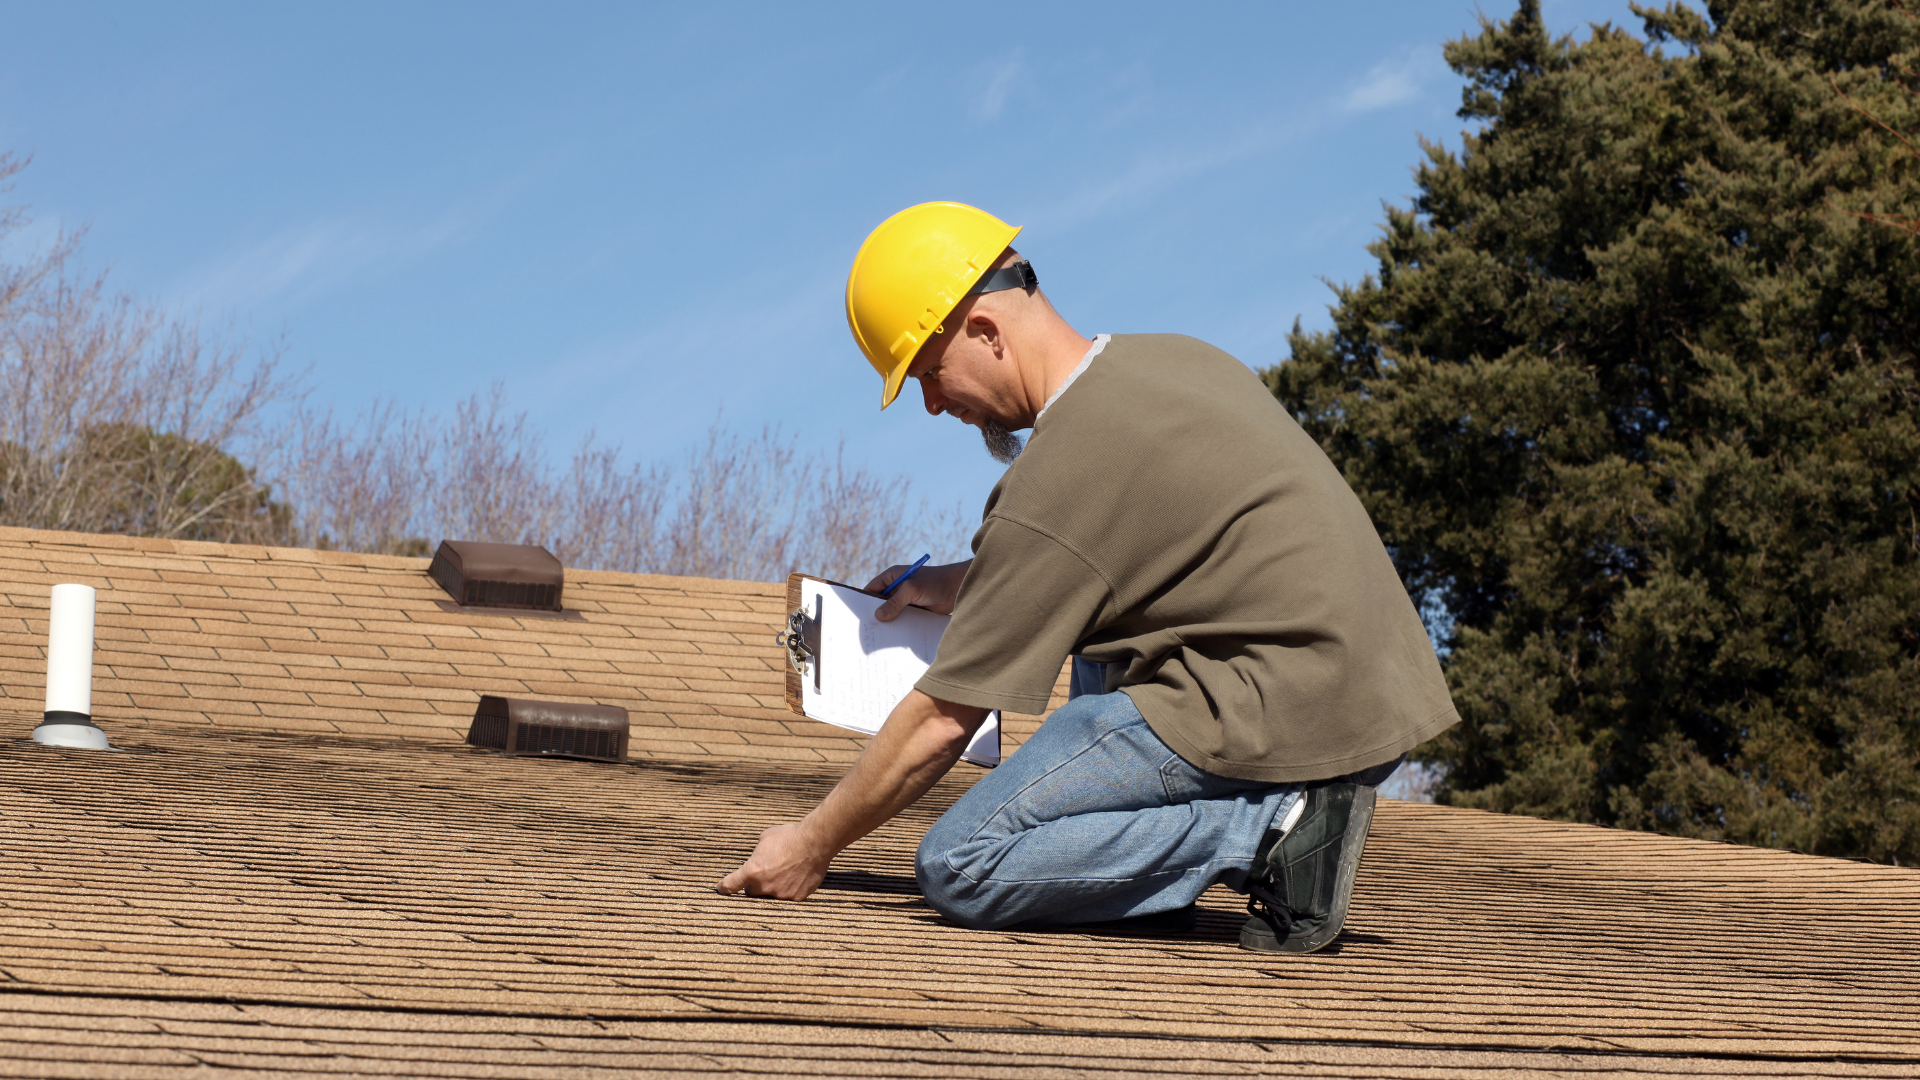
Step 4: Schedule an Inspection with an Adjuster
Your insurance company will likely send an adjuster to inspect the damage. It’s beneficial to have a trusted roofing contractor present during this inspection to ensure all damage is accurately assessed. TheNational Association of Insurance Commissioners (NAIC) emphasizes the importance of understanding your rights during the inspection process.
Step 5: Obtain Repair Estimates
While the insurance adjuster provides an estimate, it’s advisable to get independent estimates from reputable roofing contractors. This ensures that the compensation offered aligns with the actual repair costs.Consumer Reports suggests obtaining multiple estimates to compare and validate the adjuster’s assessment.
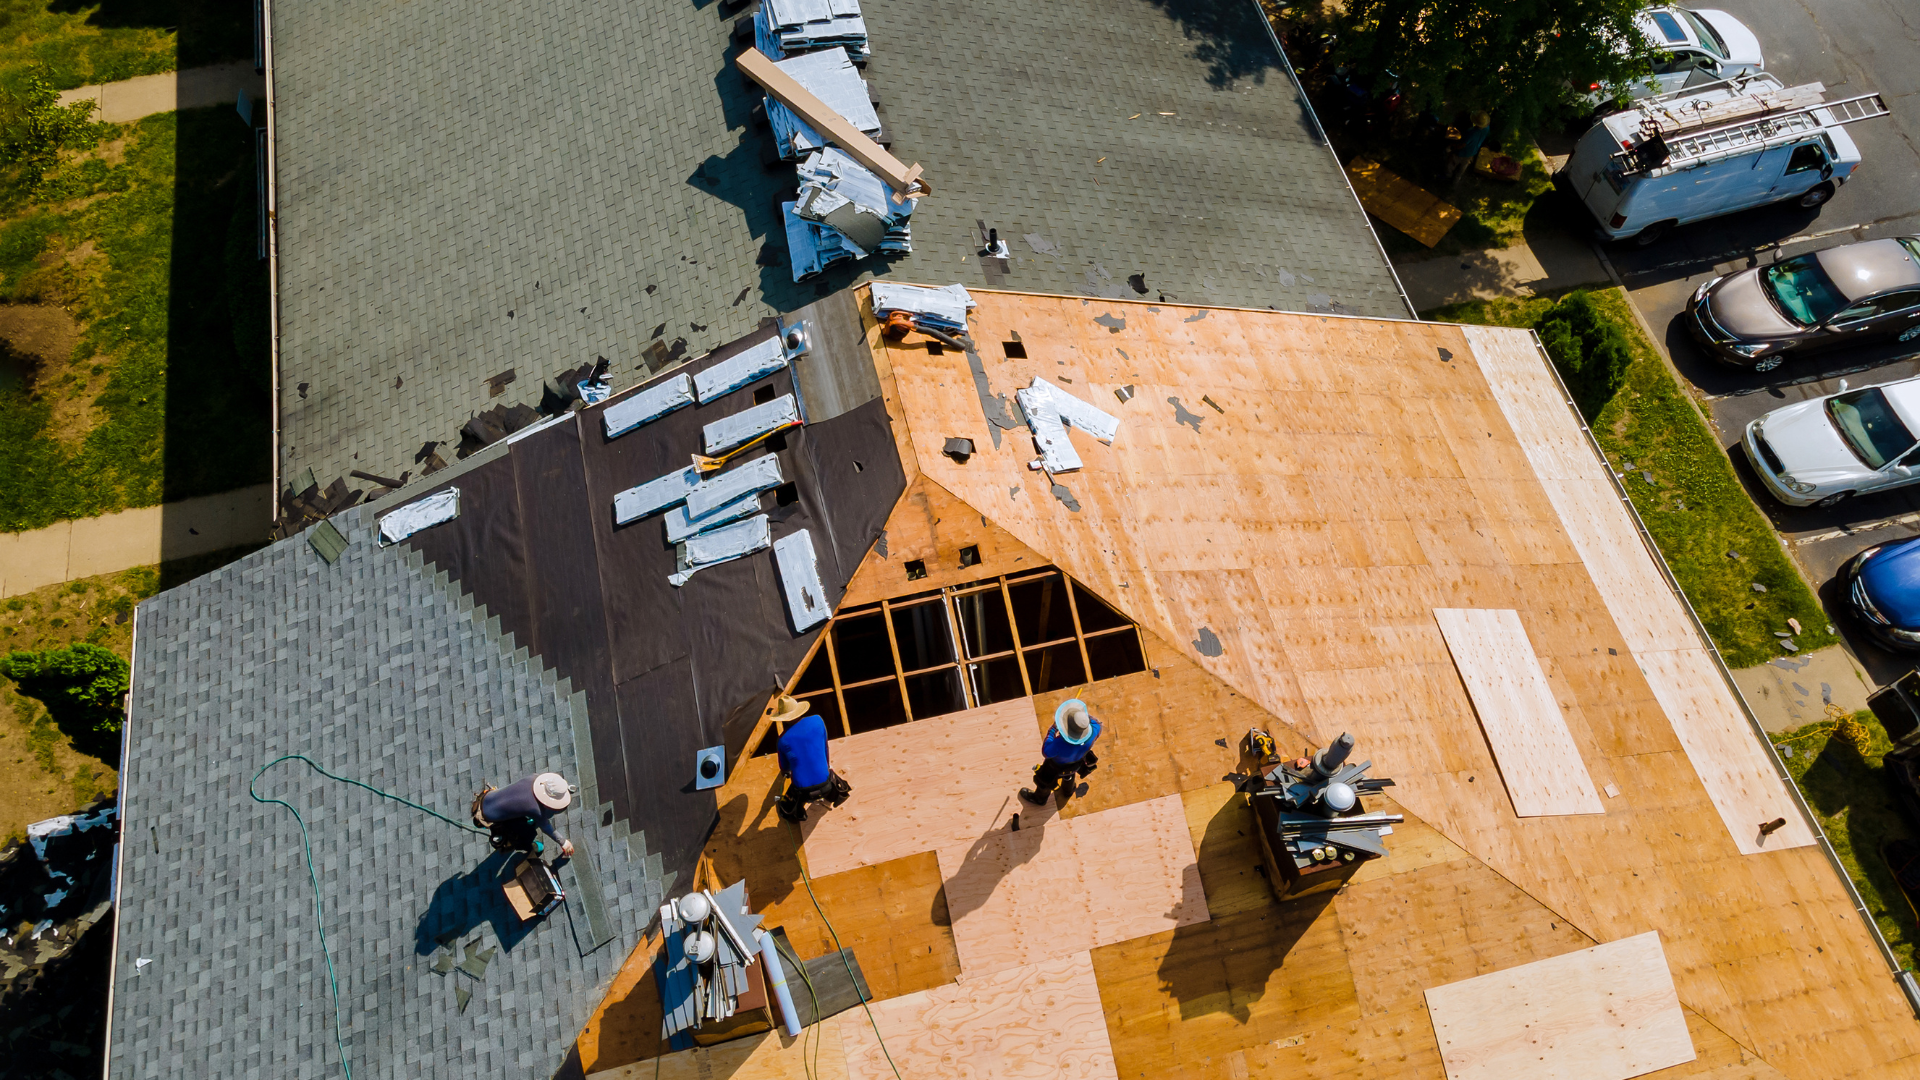
Step 6: Understand the Settlement and Begin Repairs
After the claim is approved, you’ll receive a settlement outlining the coverage amount. Review this carefully and discuss any discrepancies with your insurance company. Once agreed upon, you can proceed with the repairs. Ensure that the contractor you choose is licensed and insured, and that they provide a warranty for their work.

Additional Tips for a Smooth Claims Process
- Maintain Regular Roof Inspections: Regular inspections can identify potential issues before they escalate, and provide documentation of the roof’s condition before any damage occurs.
- Keep Detailed Records: Maintain a file with all correspondence, estimates, invoices, and photos related to your roof and the claims process.
- Be Aware of Deadlines: Insurance policies often have specific timeframes for filing claims. TheNAIC notes that claims should typically be filed within a certain period after the damage occurs.

Contact Advocate Contracting to Get Started
Navigating the roof insurance claim process can be complex, but with the right approach and support, you can ensure your home is restored efficiently and effectively. At Advocate Contracting, we’re here to assist you every step of the way, from initial assessment to final repairs. Contact us today to schedule a consultation and safeguard your home against future storms.